- Order number: MGSL-AIY-Voice
- Manufacturer product ID: MGSL-AIY-Voice
Introduction
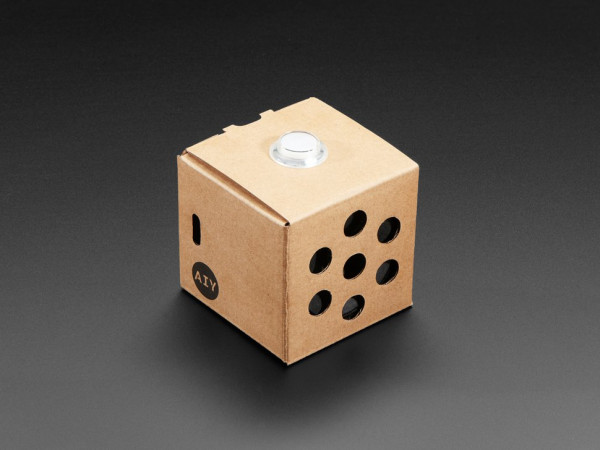
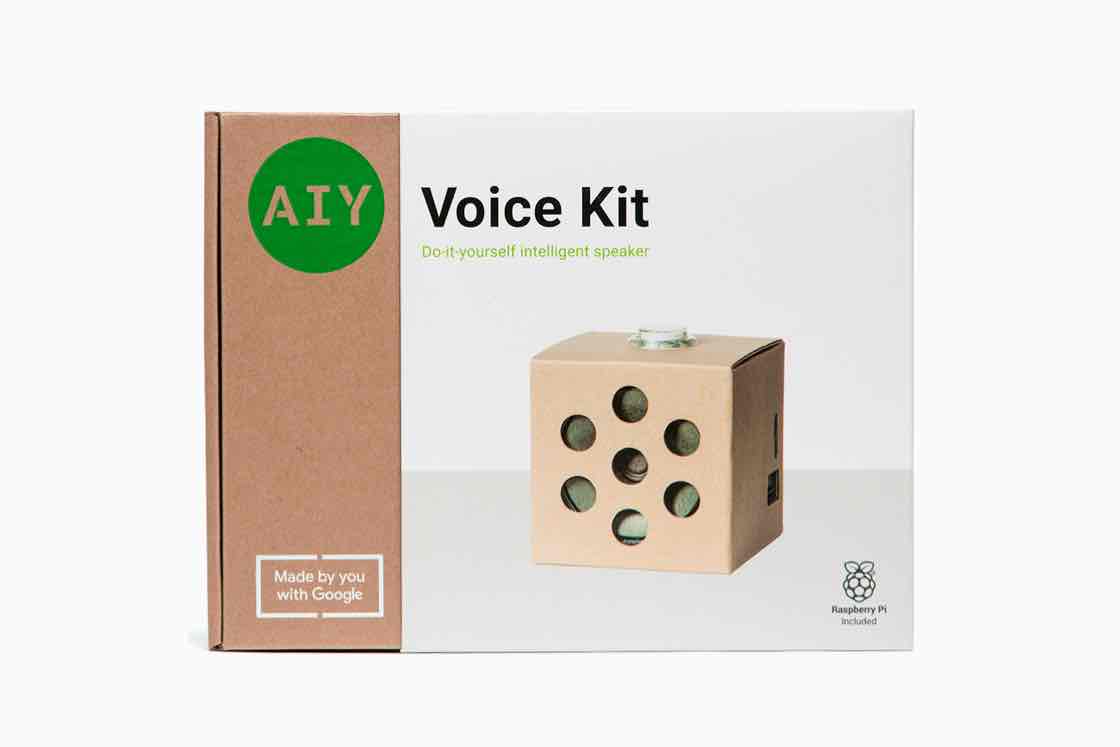
The AIY Voice Kit from Google lets you build your ow natural language processor and connect it to the Google Assistant or Cloud Speech-to-Text service, allowing you to ask questions and issue voice commands to your programs. All of this fits in a handy little cardboard cube, powered by a Raspberry Pi.
Everything you need is provided in the kit, including the Raspberry Pi
Meet your kit
Welcome! Let’s get started
The following instructions show you how to assemble your AIY Voice Kit, connect to it, and run the Google Assistant demo, which turns your kit into a voice assistant that responds to your questions and commands.
Then you can try some other sample code or use the Google Cloud Speech-to-Text service, which converts spoken commands into text you can use to trigger actions in your code.
Time required to build: 1.5 hours
Check your kit version
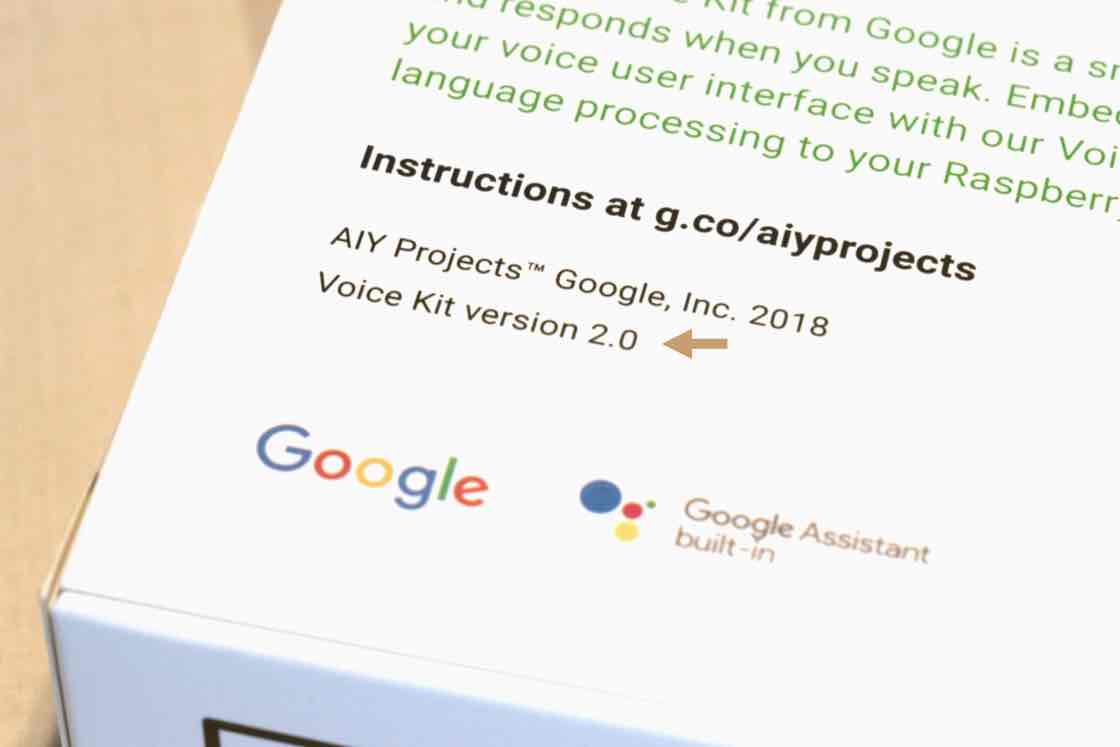
These instructions are for Voice Kit 2.0. Check your kit version by looking on the back of the white box sleeve in the bottom-left corner.
If it says version 2.0, proceed ahead! If it doesn’t have a version number, follow the assembly instructions for the earlier version.
GATHER ADDITIONAL ITEMS
You’ll need some additional things, not included with your kit, to build it:
- 2mm flat screwdriver: For tightening the screw terminals
- Micro USB power supply: The best option is to use a USB Power supply that can provide 2.1 Amps of power via micro-USB B connector. The second-best choice is to use a phone charger that also provides 2.1A of power (sometimes called a fast charger). Don't try to power your Raspberry Pi from your computer. It will not be able to provide enough power and it may corrupt the SD card, causing boot failures or other errors.
- Wi-Fi connection
Below are two different options to connect to your kit to Wi-Fi, so that you can communicate with it wirelessly.
OPTION 1: USE THE AIY PROJECTS APP
Choose this option if you have access to an Android smartphone and a separate computer.
You’ll need:
- Android smartphone
- Windows, Mac, or Linux computer
OPTION 2: USE A MONITOR, MOUSE, AND KEYBOARD
Choose this option if you don’t have access to an Android smartphone.
You’ll need:
- Windows, Mac, or Linux computer
- Mouse
- Keyboard
- Monitor or TV (any size will work) with a HDMI input
- Normal-sized HDMI cable and mini HDMI adapter
- Adapter to attach your mouse and keyboard to the kit. Below are two different options.
Adapter option A: USB On-the-go (OTG) adapter cable to convert the Raspberry Pi USB micro port to a normal-sized USB port. You can then use a keyboard/mouse combo that requires only one USB port.
Adapter option B: Micro USB Hub that provides multiple USB ports to connect to any traditional keyboard and mouse.
Get to know the hardware
Open your kit and get familiar with what’s inside.
List of materials
IN YOUR KIT
| 1 | Voice Bonnet | x1 |
| 2 | Raspberry Pi Zero WH | x1 |
| 3 | Speaker | x1 |
| 4 | Micro SD card | x1 |
| 5 | Push button | x1 |
| 6 | Button nut | x1 |
| 7 | Button harness | x1 |
| 8 | Standoffs | x2 |
| 9 | Micro USB cable | x1 |
| 10 | Speaker box cardboard | x1 |
| 11 | Internal frame cardboard | x1 |
Tutorial
- Build your kit
- Connect to your kit
- Setup the Assistant
- Maker's guide
- More Information
- Further products by Google


